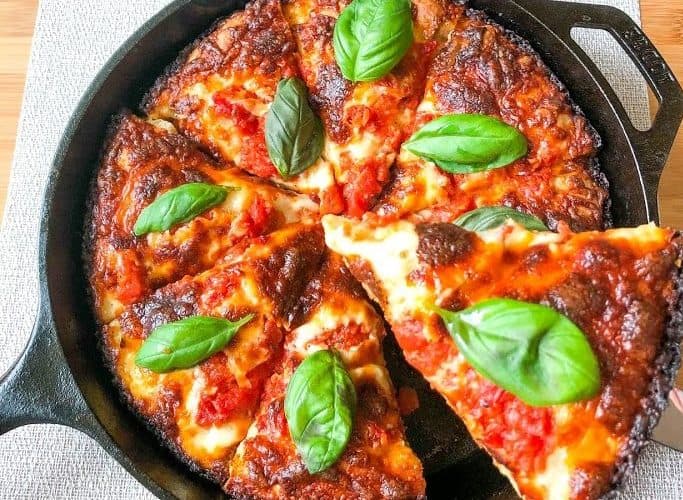
This is one of the best crispy cheesy pan pizzas I’ve had in a while. I remember growing up, we used to get pan pizza at a certain pizza place and it was my favorite. It was greasy, crispy, and delicious! What wasn’t there to like about it? This feels like a slightly more sophisticated version of the pan pizza from my childhood.
When I saw this Crispy Cheesy Pan Pizza floating around on Instagram I knew I had to give it a try. King Arthur Flour called it their 2020 Recipe of the Year. With that kind of endorsement it had to be good, right?
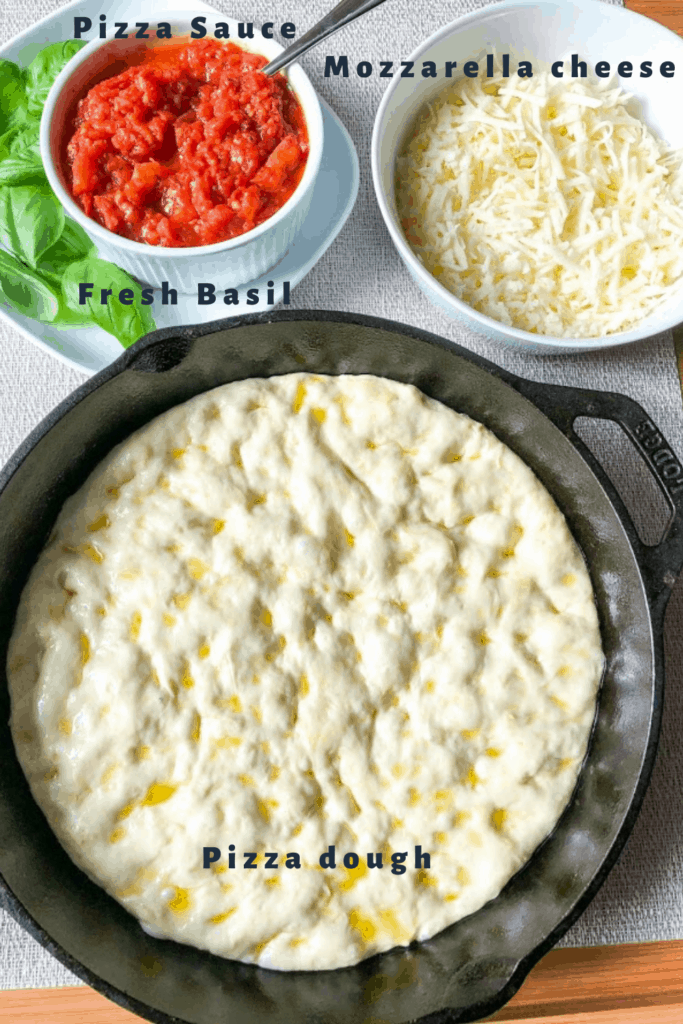
This version of a pan pizza is simple to put together, but it does take some patience. The majority of the time for this recipe is the overnight proofing in the refrigerator. I promise you though, it’s worth the wait.
My boyfriend LOVES pizza, so he was pretty excited for this. The best part is the crispy cheese on the edge of the pizza. I’m not normally a huge fan of pizza crust (I’d rather have all the toppings), but there was no way I was going to share my crusts this time!
This post may contain affiliate links. If you purchase through these links, I may receive a commission at no extra cost to you.
The Sauce
I’ve been making my own pizza sauce and it’s super simple. You just take a can of diced tomatoes, add in some minced garlic and dried herbs. Cook in a pot and mash with a potato masher to get a chunky marinara type sauce. I recommend making your own sauce, it’s so much better than the jarred stuff.
If you are going to take the effort to make this Crispy Cheesy Pan Pizza, the extra 20-25 minutes to make the sauce is worth it. I like my sauce chunky, but if you like a smoother sauce, blitz it up. I would recommend an immersion blender. You can stick it directly into the pot to blend the pizza sauce.
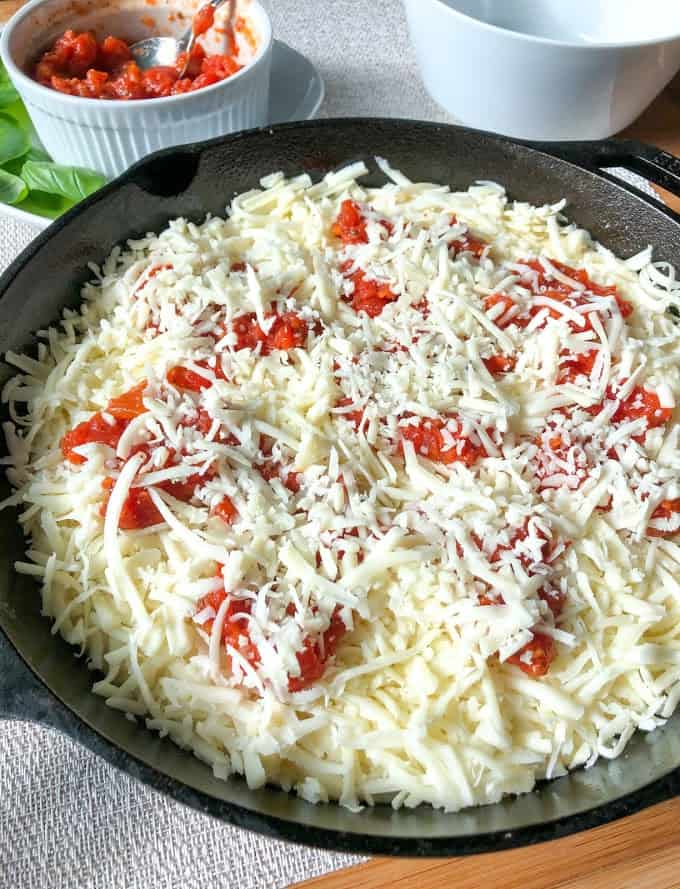
This Crispy Cheesy Pan Pizza does use a cast iron pan, that is how you get the crispy crust and cheese around the edges. I have not tried this in a regular cake pan but according to King Arthur Flour’s recipe, you can. I’m just not sure if the pan pizza would get as crispy. Let me know if you try it in a cake pan, as I know not everyone has a cast iron skillet handy.
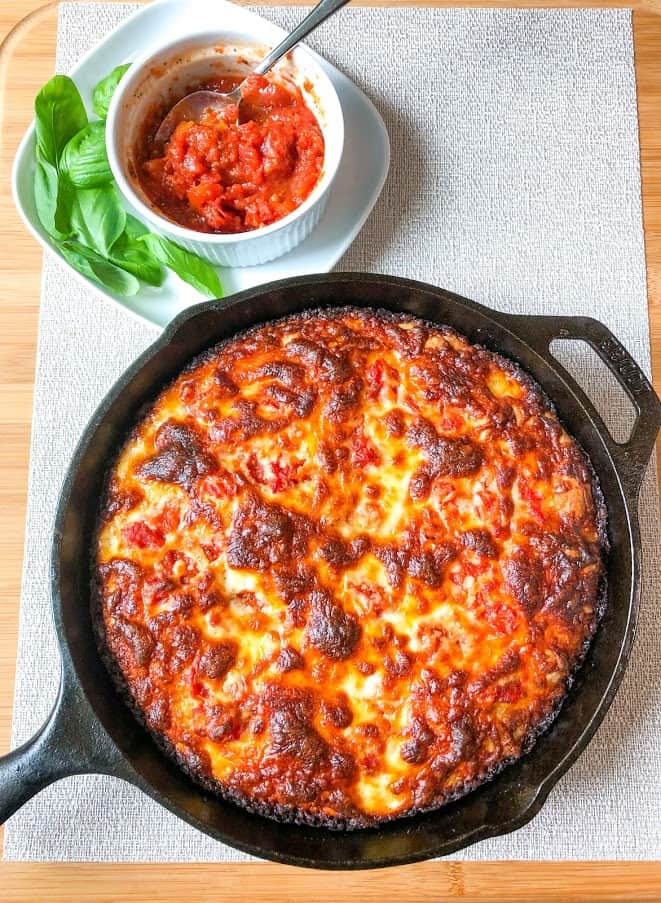
I decided to only add fresh basil at the end instead of a lot of fancy toppings. Generally I’m all about the toppings, but with this I wanted to keep it simple so I could really taste the pizza. That being said, I would maybe add pepperoni next time but I still think simpler is better.
We could have easily polished off this whole Crispy Cheesy Pan Pizza, but we showed a little restraint and saved a few slices. This would be great with a salad to make a balanced meal.
What would you add to this pizza? What’s your favorite pizza toppings?
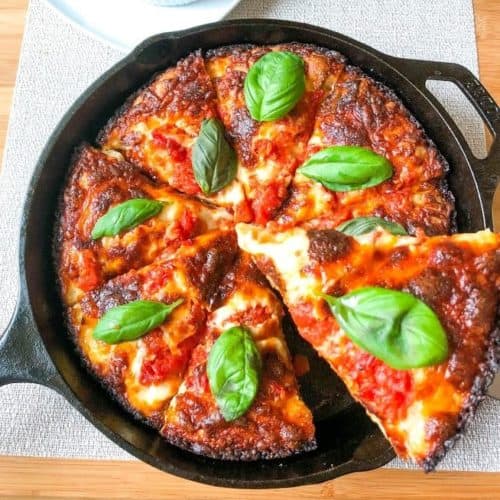
Crispy Cheesy Pan Pizza
Ingredients
Pizza Dough
- 2 cups (240g) all purpose flour
- 1/2 tsp kosher salt
- 1/2 tsp active dry yeast
- 3/4 cup (170g) lukewarm water
- 1 tbsp (13g) olive oil + 1 1/2 tablespoons (18g) olive oil for the pan
Pizza Sauce
- 1 tsp olive oil
- 1 14.5oz can diced tomatoes
- 2 cloves of garlic, minced
- 1/4 tsp dried basil
- 1/4 tsp dried oregano
- 1/4 tsp red pepper flakes, optional
- 1/4 tsp ground black pepper
Toppings
- 1 1/4 cups (170g) mozzarella, grated, freshly grated is best
- fresh basil leaves, optional
Instructions
Pizza Dough
- In a large mixing bowl, place the flour, salt, yeast, and 1 tbsp of the olive oil. Mix with a wooden spoon or spatula until it just comes together and there are no more dry patches of flour.
- Scrape down the sides of the bowl and gather the dough into a rough ball. Cover the bowl with a clean towel and let sit for 5 minutes.
- Uncover the bowl, wet your hands and reach between the bowl and the dough. You are going to stretch the bottom of the dough up and over its top. This folding takes the place of having to knead the dough.
- Re-cover the bowl, and after 5 minutes you will do another fold. Repeat this until you have done four folds total. After your fourth fold, cover the bowl and let it rise for 40 minutes.
- Refrigerate the pizza dough for at least 12 hours, up to 72 hours.
Pizza Sauce
- In a medium sauce pan on medium heat, add the olive oil. Once the olive oil is hot, add the garlic and stir until fragrant. Do not let your garlic burn, it will become bitter.
- Add the diced tomatoes and mash with a potato masher or wooden spoon to break up the chunks. Add the dried basil, oregano, red pepper flakes (if using), and black pepper.
- Bring the sauce to a boil and then reduce to low. Stirring occasionally, simmer until thickened and reduced, about 20 minutes.
- Cool before topping on the pizza.
Assembly
- You will need to start this about 3 hours before you want to eat.
- Pour 1 1/2 tbsp olive oil into your cast iron pan. Your pan should be 10" to 11" diameter across the top and about 9" across the bottom. You can alternatively use a cake pan if you don't have a cast iron pan. Using your fingers or a brush, make sure the bottom and sides of the pan are well coated in the oil.
- Place the dough into the pan, turning over once to ensure the dough is coated in oil. Press the dough to the edges of the pan, using your fingers. You will want to have dimples in your dough from your fingertips. The dough may want to shrink back, but that's ok. Cover with a towel and let rest for 15 minutes.
- Repeat the process of pressing the dough out and dimpling. If your dough still shrinks back, rest for another 15 minutes and repeat once again.
- Cover and let the dough rest at room temperature for 2 hours. The dough should look soft and pillowy after the 2 hours.
- About 30 minutes before baking, preheat your oven to 450°F. One oven rack should be at the bottom of the oven and the other should be close to the top but not at the very top.
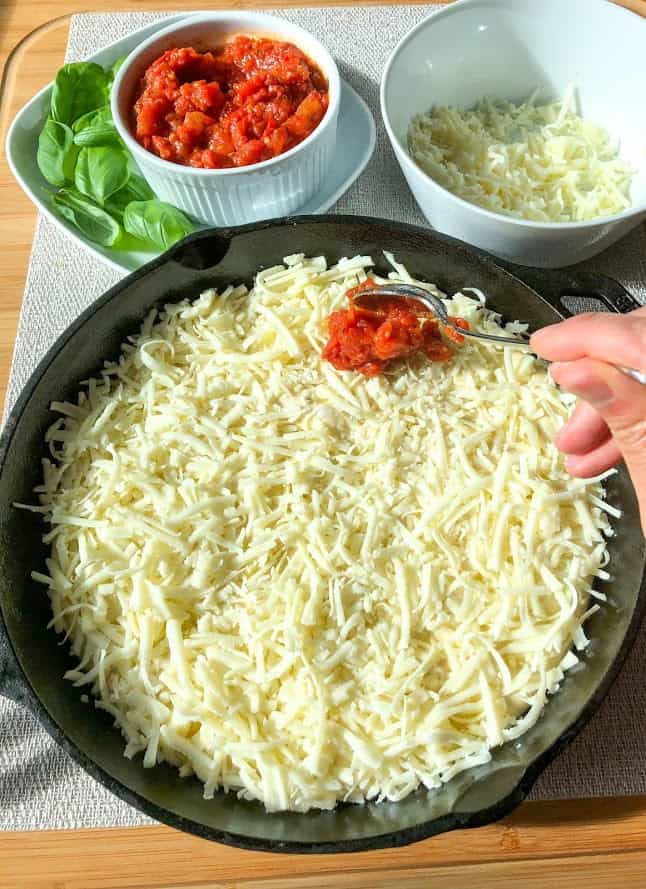
- While the oven is preheating, sprinkle 3/4 of the mozzarella evenly over the crust. Make sure to get the cheese all the way to the edges, that will give you the nice crispy cheese bits. Dollop spoonfuls of the pizza sauce over the cheese and top with remaining mozzarella.
- Bake the pizza on the bottom rack of the oven for 18-20 minutes, until the cheese is bubbling and the bottom and edges of the crust are a nice golden brown. Use a spatula to check the bottom. If the bottom is not brown enough, bake for a few more minutes. If the bottom is done but the top is not brown, place the pizza on the upper rack and bake for a few more minutes. Make sure to watch your pizza closely if it's on the top rack, you don't want it to burn.
- Remove the pizza from the oven. Carefully run a spatula around the edge of the pizza, to prevent the cheese from sticking to the pan as it cools. Let the pizza cool for 5 minutes before removing and slicing.
- Top with fresh basil leaves (if using) before serving.
Notes
- You will only need about 1/2 of the sauce, but save the rest and serve it on the side or save for another pizza.
- I cut the pizza on a wooden cutting board and used a sharp knife. Once the pizza was cut, I put it back into the cast iron pan so that it would stay warm.

Don’t like pizza? Try one of these dinner ideas instead!

